Quick Start Guide
Get up and running with Trial Submission Studio in 5 minutes.
Overview
This guide walks you through the basic workflow:
flowchart LR
    A["Import CSV"] --> B["Map Columns"]
    B --> C["Validate"]
    C --> D["Export"]

    style A fill:#4a90d9,color:#fff
    style D fill:#50c878,color:#fff
- Import your source CSV data
- Map columns to SDTM variables
- Validate against CDISC standards
- Export to XPT format
Step 1: Launch the Application
After installing Trial Submission Studio, launch the application:
- macOS: Open from Applications folder
- Windows: Run
trial-submission-studio.exe - Linux: Run
./trial-submission-studio
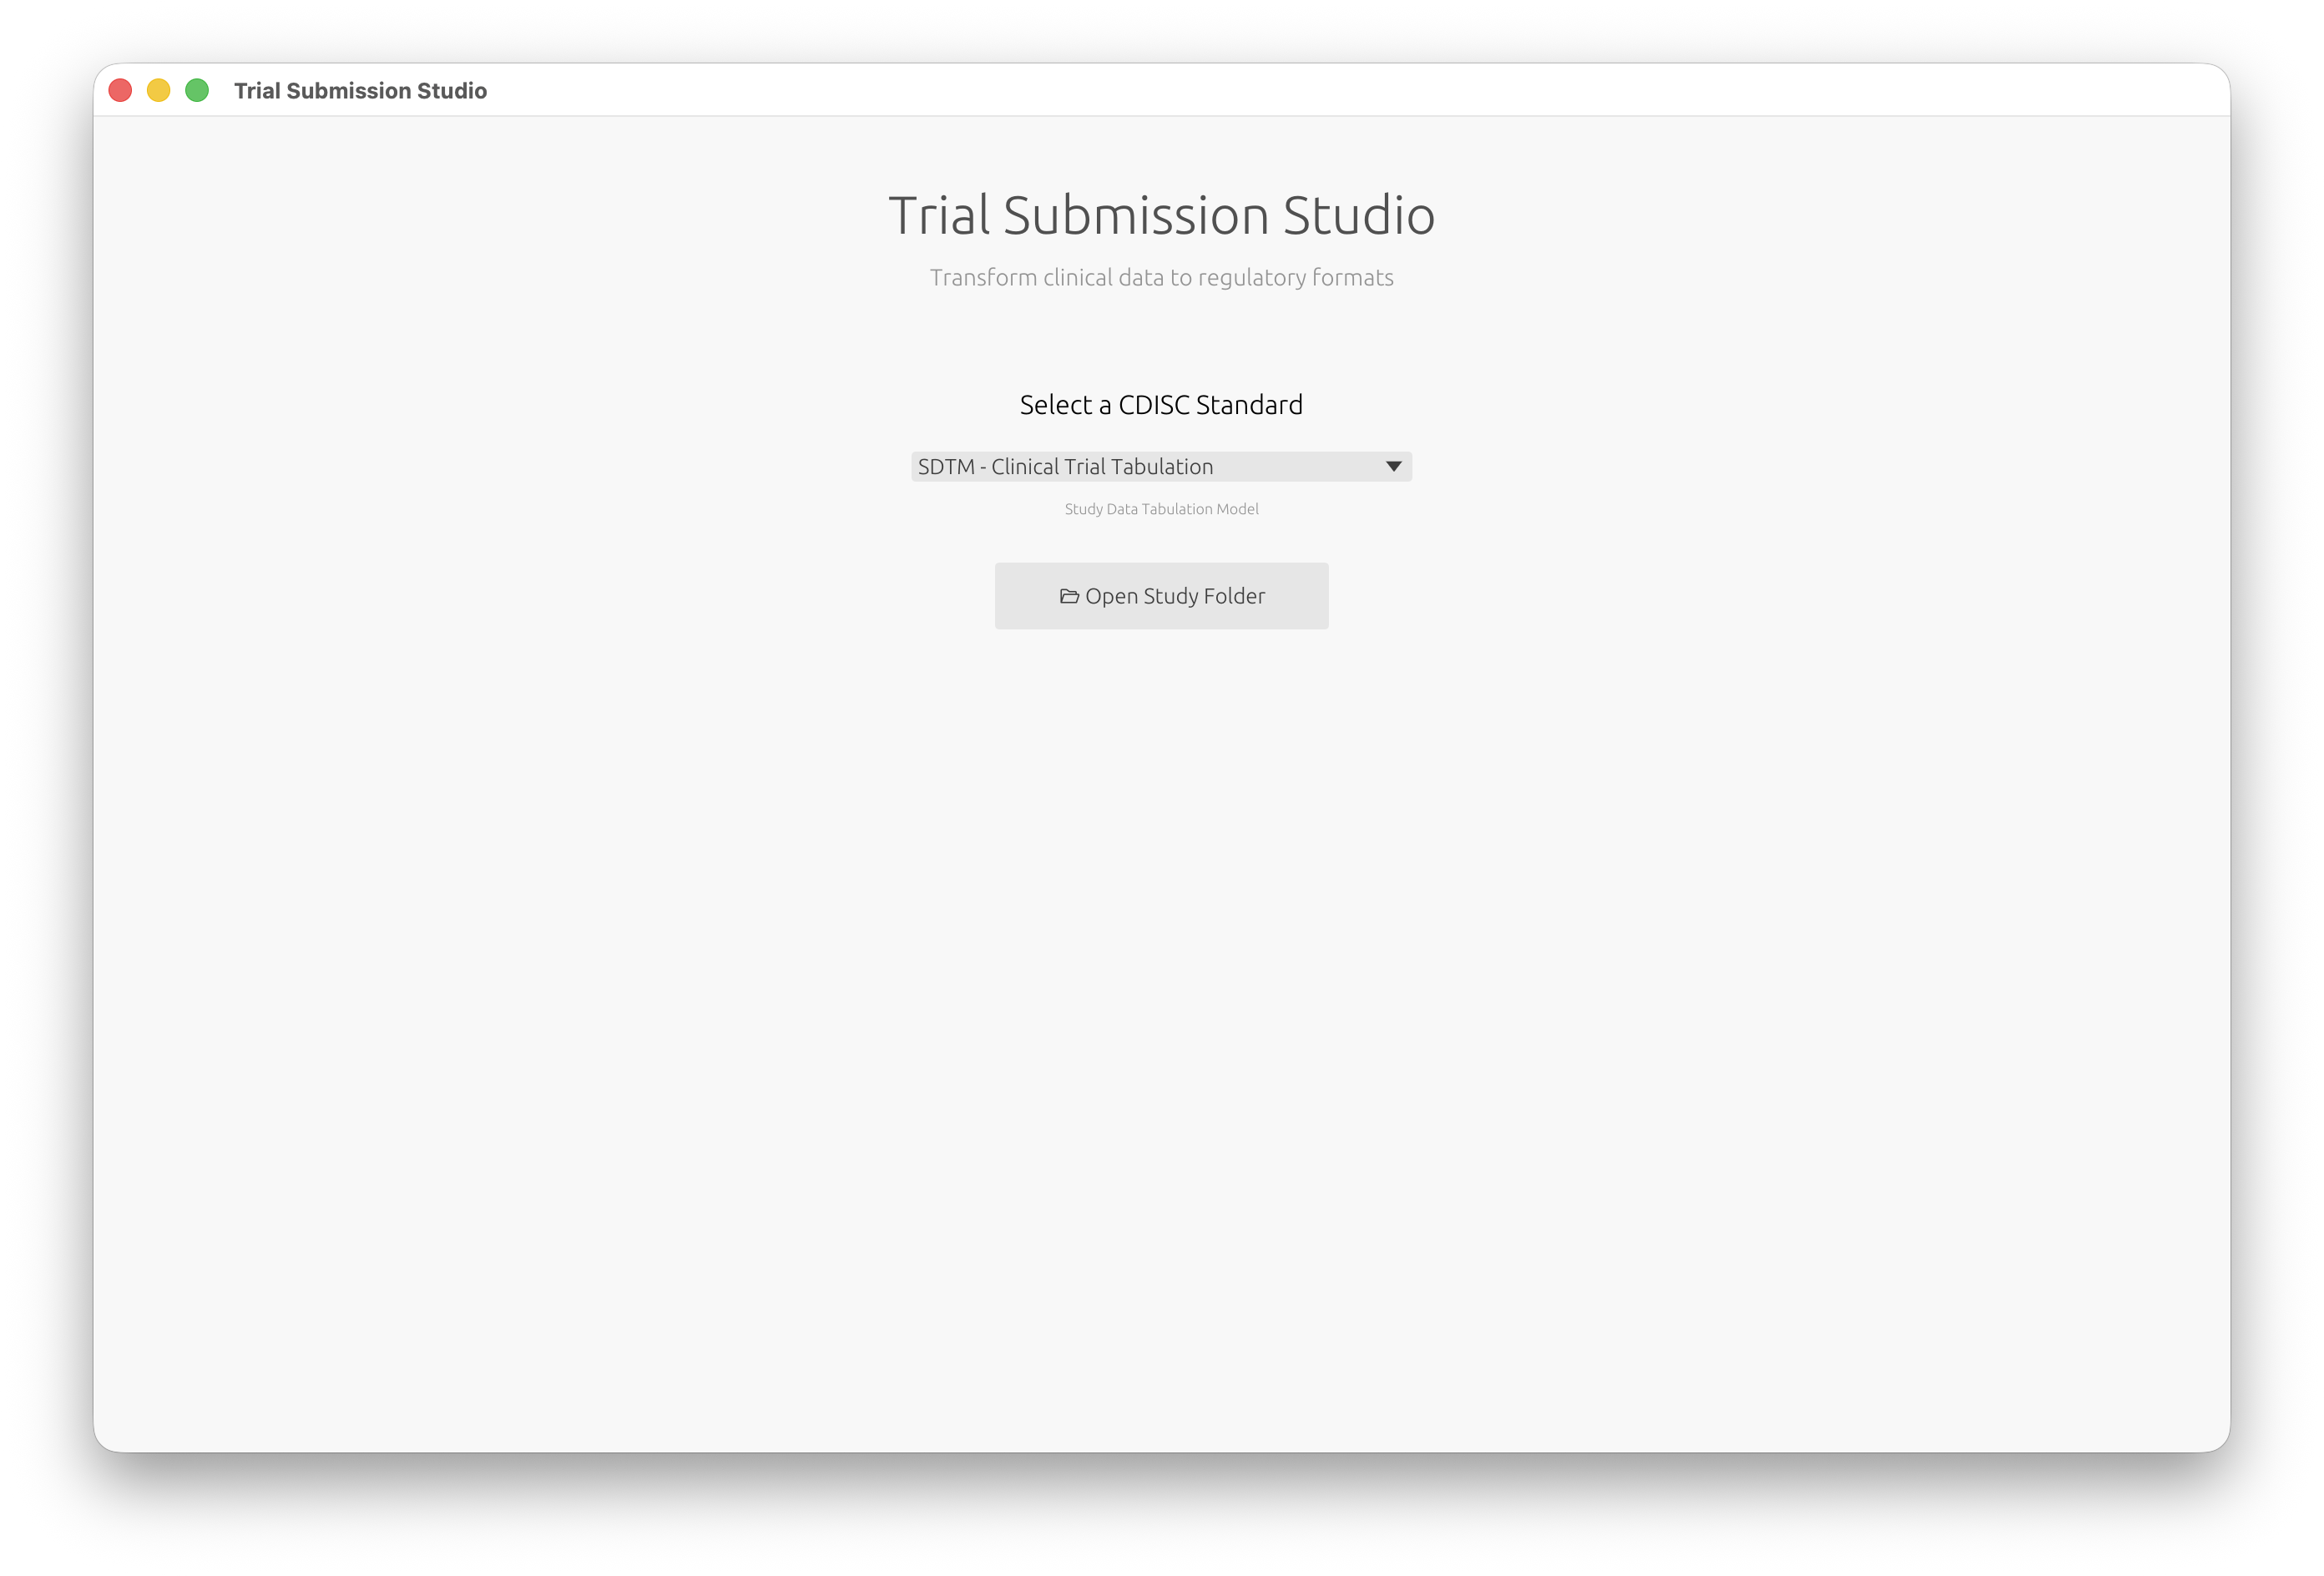
You’ll see the welcome screen where you can select your CDISC standard:
Step 2: Import Your Data
- Click Open Study Folder and select your data folder
- Trial Submission Studio will automatically:
- Detect column types
- Identify potential SDTM domains
- Parse date formats
Tip
Your data should have column headers in the first row.
Step 3: Review Discovered Domains
Trial Submission Studio automatically discovers domains from your source data:
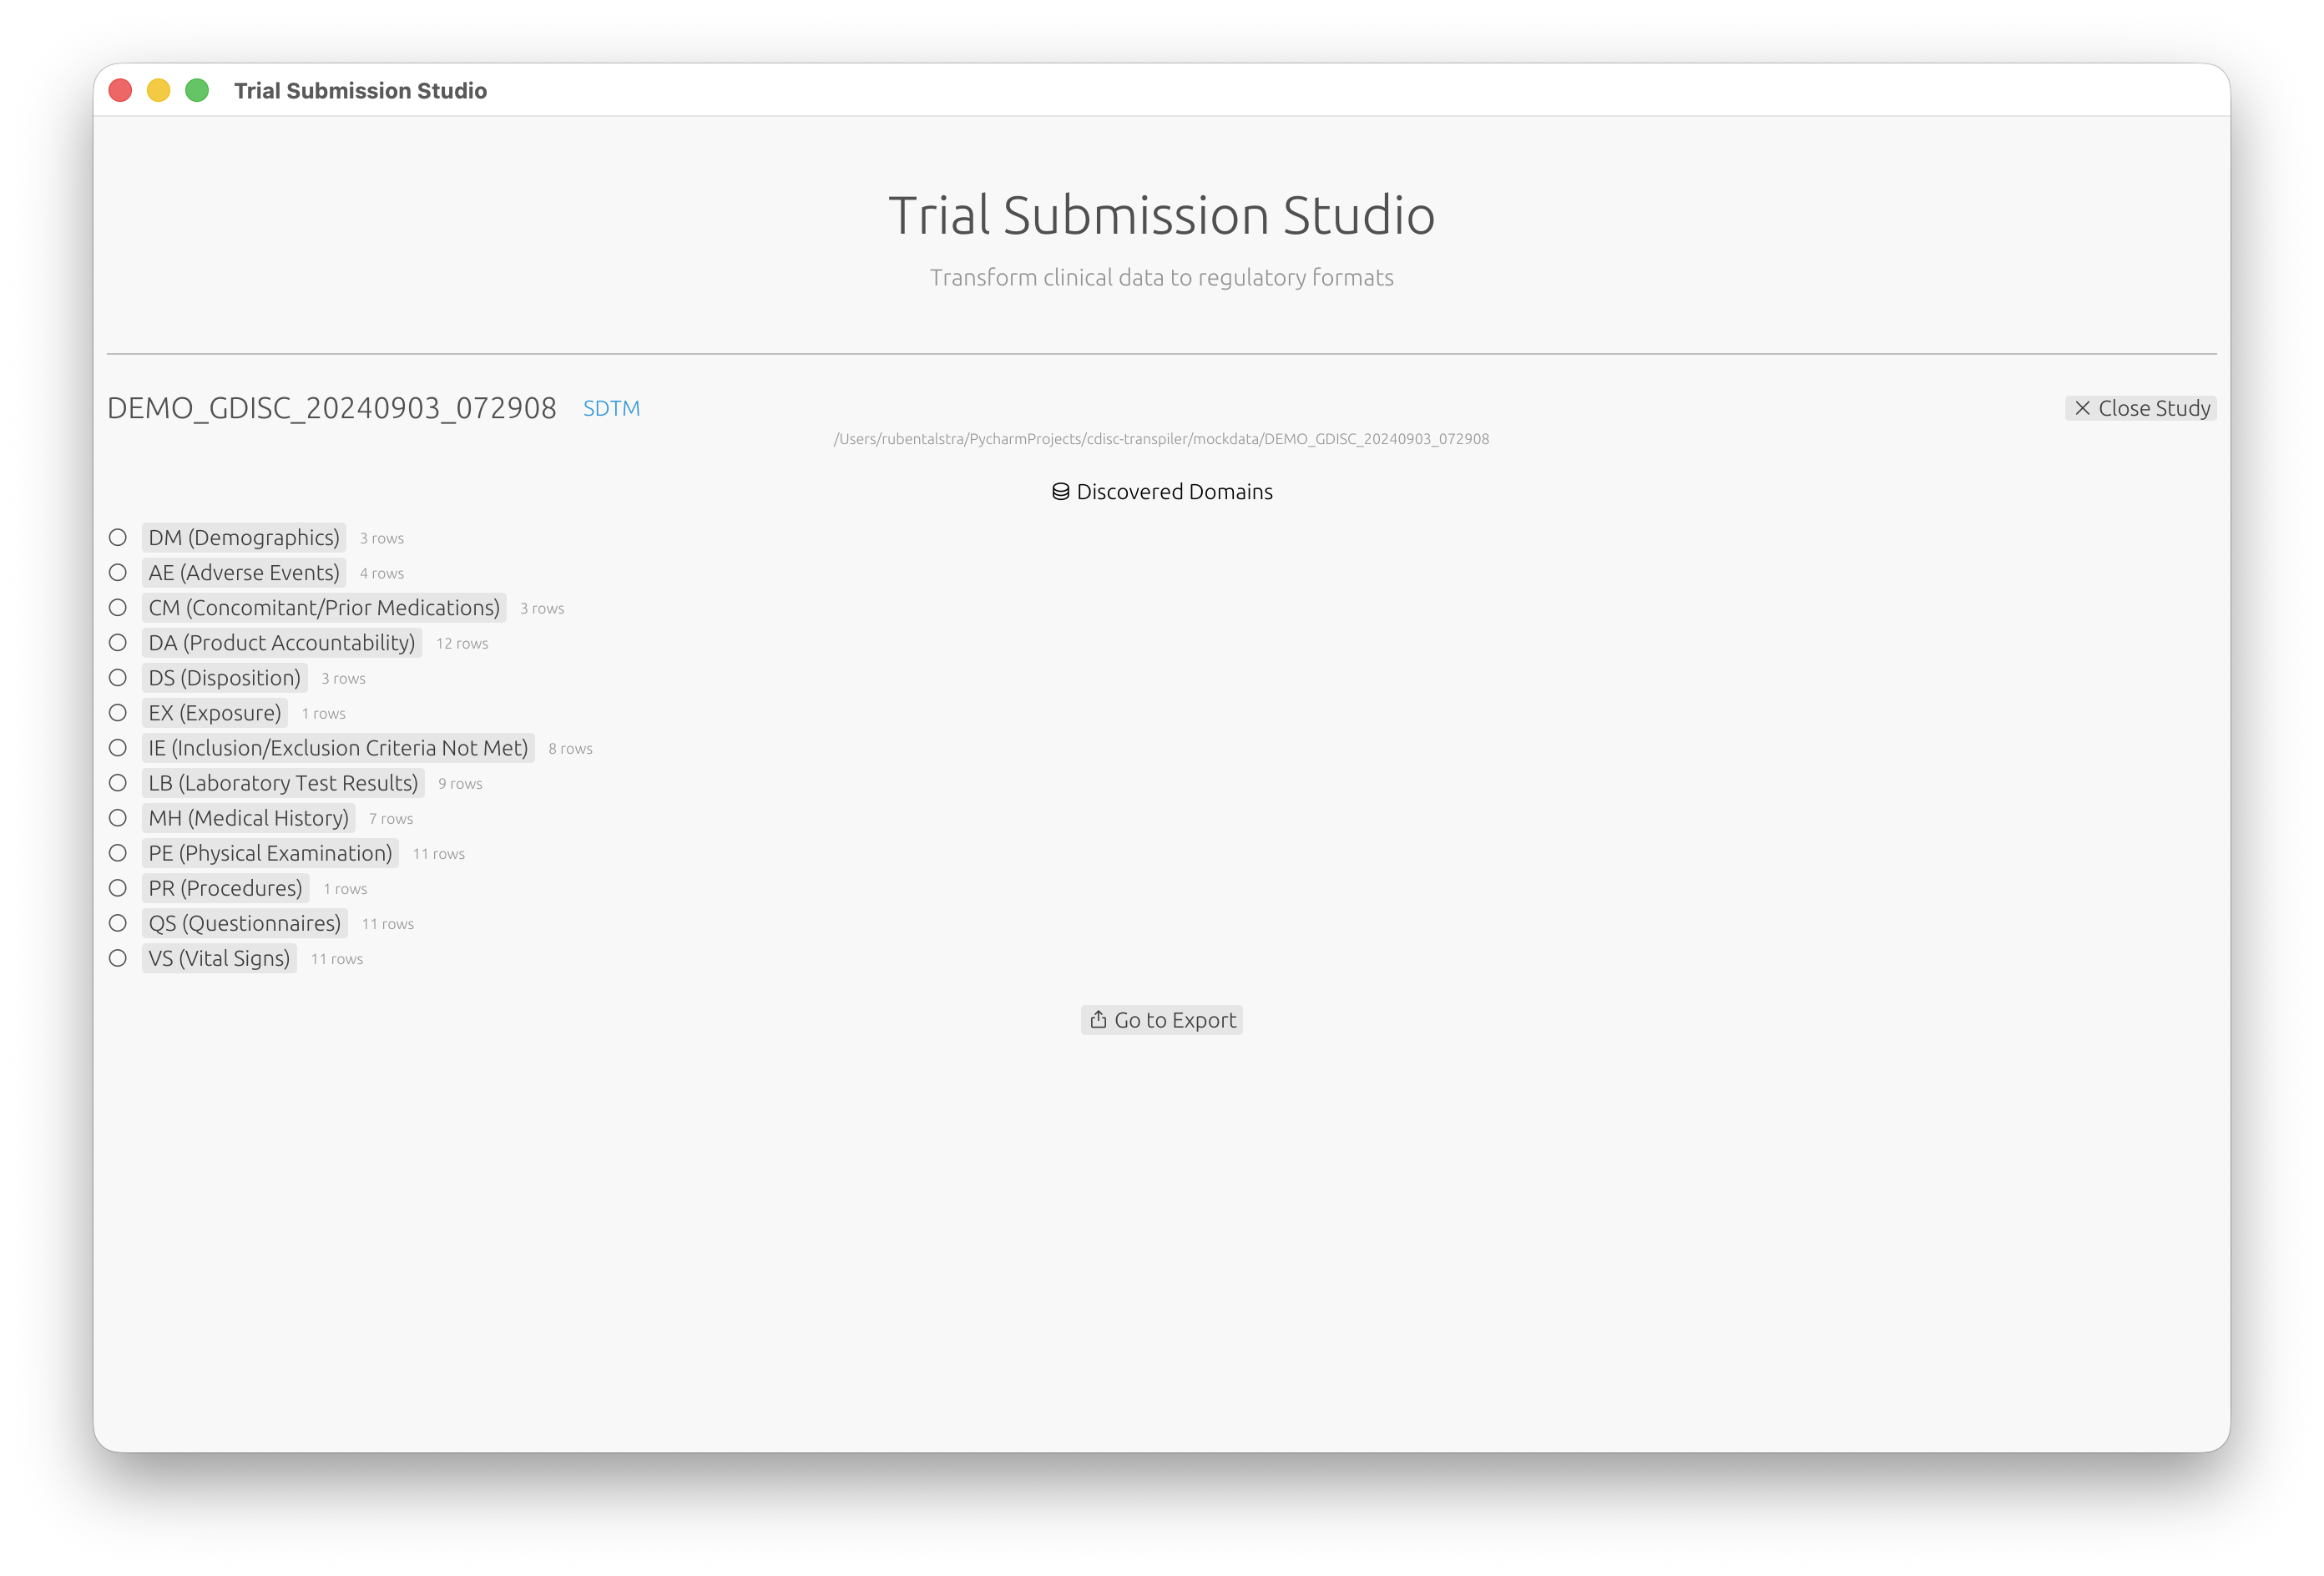
- Review the list of discovered domains (DM, AE, VS, etc.)
- Click on a domain to configure its mappings
Step 4: Map Columns
- Review the suggested column mappings
- For each source column, select the corresponding SDTM variable
- Use the fuzzy matching suggestions to speed up mapping

The mapping interface shows:
- Source Column: Your CSV column name
- Target Variable: The SDTM variable
- Match Score: Confidence of the suggested mapping (e.g., 93% match)
Step 5: Validate
- Switch to the Validation tab to check your data against CDISC rules
- Review any validation messages:
- Errors: Must be fixed before export
- Warnings: Should be reviewed
- Info: Informational messages
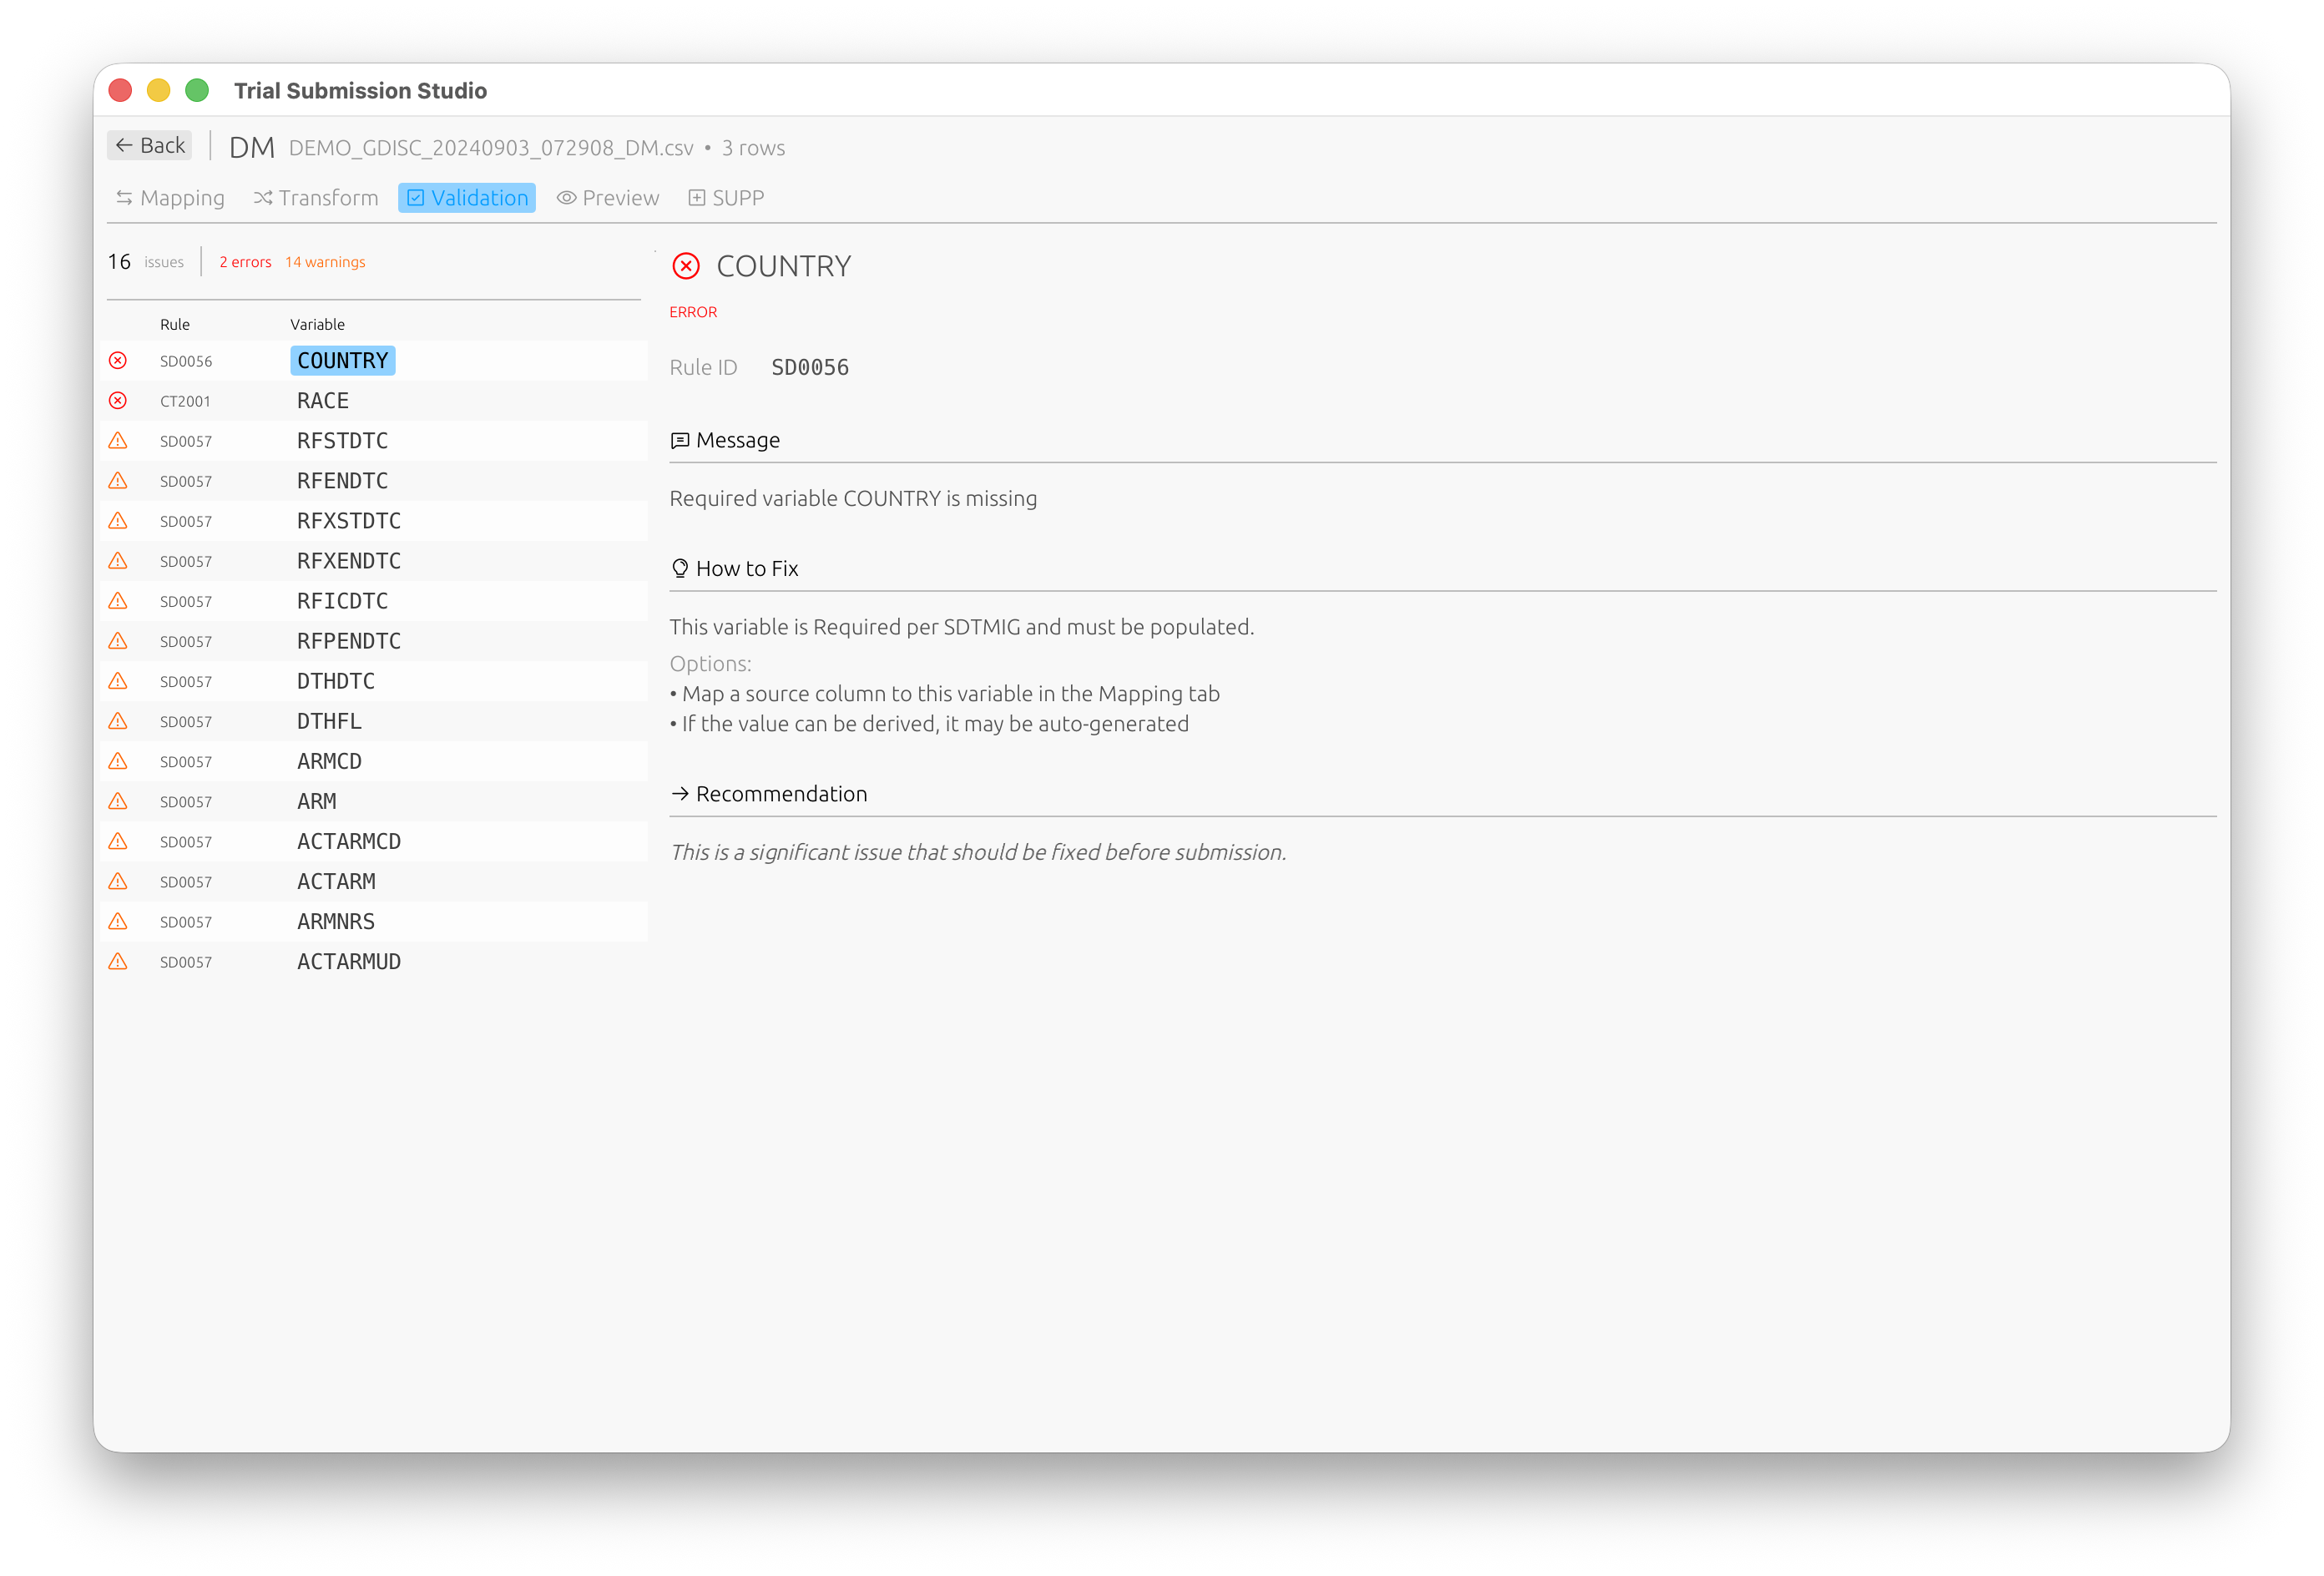
Each validation issue includes the rule ID, a description, and suggestions on how to fix it.
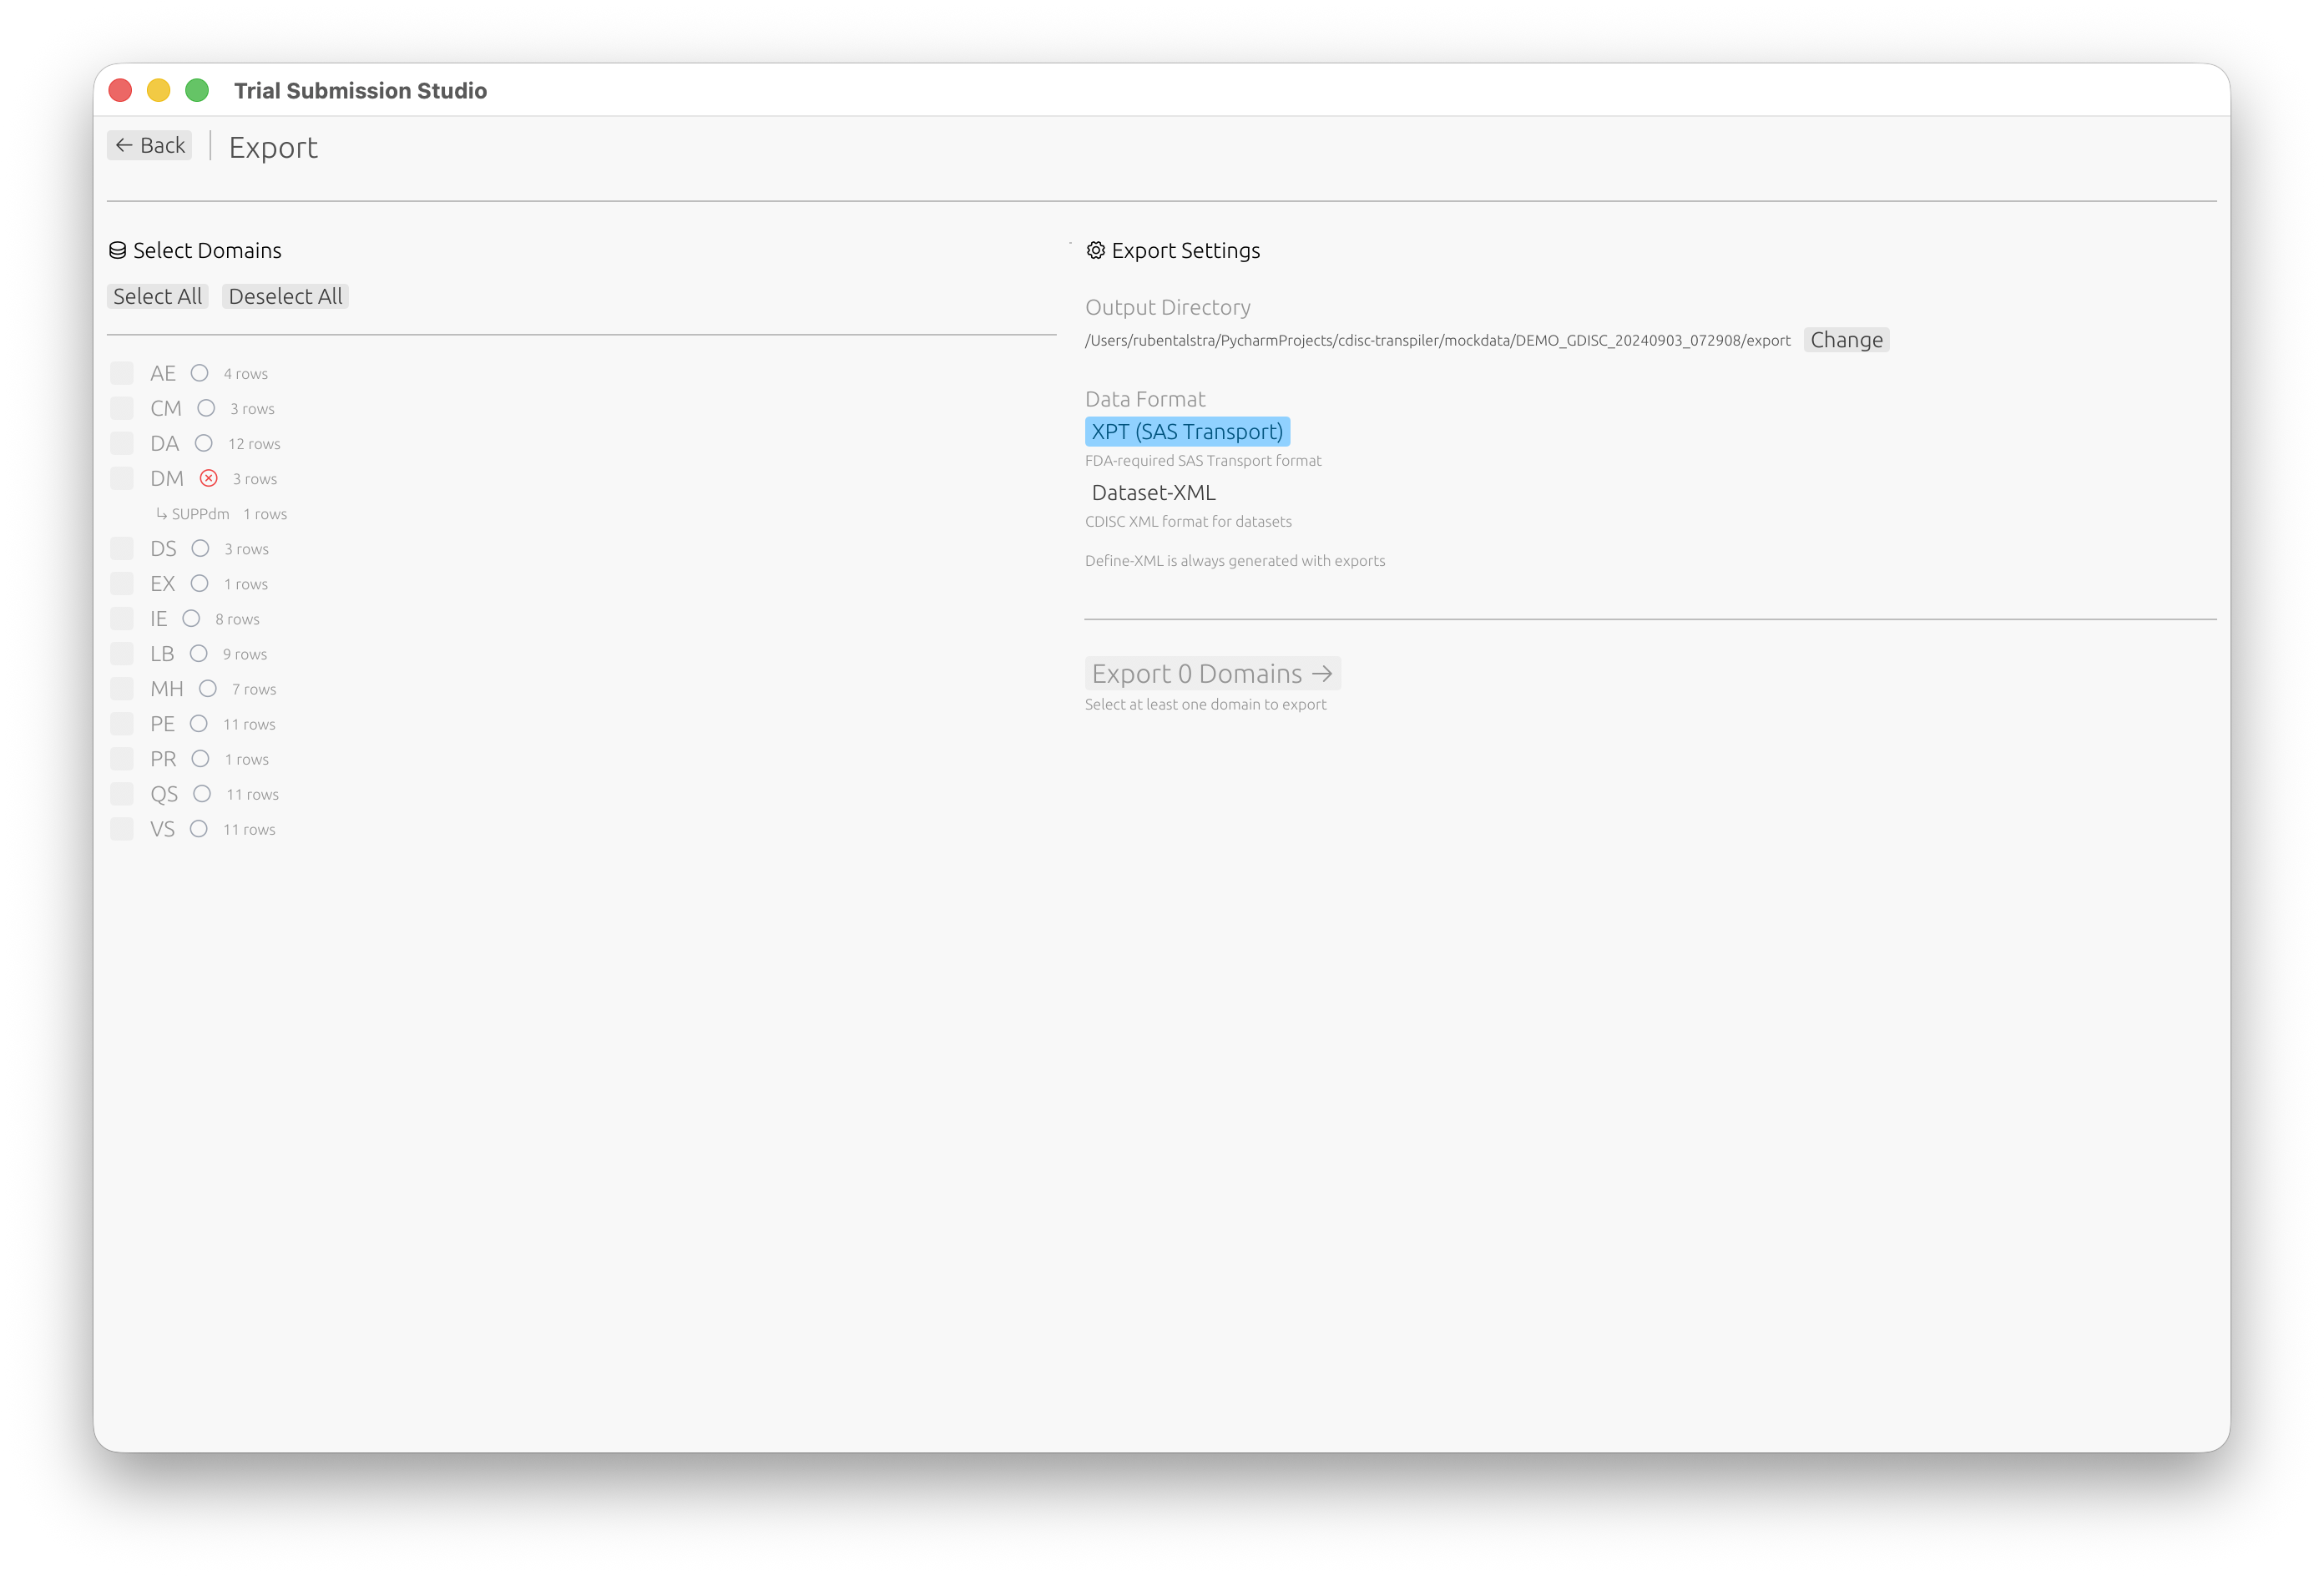
Step 6: Export
- Click Go to Export or navigate to the Export screen
- Select which domains to export
- Choose your output format:
- XPT (SAS Transport) (FDA standard)
- Dataset-XML (CDISC data exchange)
- Click Export
Next Steps
Now that you’ve completed the basic workflow:
- Interface Overview - Learn about all features
- Column Mapping - Advanced mapping techniques
- Validation - Understanding validation rules
- SDTM Standards - SDTM reference guide